This post covers how I got this site up and running. I had a few objectives in mind for how I want to operate it:
- All of my content will be stored as markdown on git
- The site should be generated automatically (no dev work)
- Pages are updated automatically on git commits without any additional steps
This is not a unique setup, so it makes for an easy first project with plenty of documentation and community insight.
As an added benefit, I’ve been meaning to explore this same git/markdown setup as part of a documentation solution. While this is not exactly the same, it should help to make me more familiar with that framework.
Preface #
I’m going to skip the backstory of how much time I spent trying to configure this site to run as a container that would then be deployed to Azure with github actions whenever I pushed new content. Apart from being cost-prohibitive, the amount of stuff I had to learn to get that process working did more to discourage me then actually help get something online. Even if the idea behind this blog is learning, that process was too much.
Instead, I will just tell you that it took me literal minutes to get this set up with Azure Static Web Apps. And it’s free.
(The caveat being the fact that I had already spent so much time configuring my repo in my previous failed attempts, I didn’t really need to do any prep work in github to get this up and running.)
The part of this solution that really blows me away is that it configures your github actions for you. So all I needed to do was point Azure at my repo, authenticate, and I was up and running. If I push a commit, my site is automatically updated with no additional work, exactly what I was looking for.
Setup and Configuration #
For a static site generator, I decided to go with Hugo because it’s fast. I did not spend much time researching other options, because I figured there probably wasn’t enough difference for me to care.
I did go through Hugo’s documentation to set it up on my local workstation, and as I alluded to above, I also worked through the process of building and running a container locally that ran my Hugo instance. Although I documented that process with the intention of this post being a series of blogs about it, I am not going to go through it. The most important thing to note is that by the time I discovered Azure’s static web solution, I already had a working Github repository that contained all my Hugo web app content.
From that point, the process to get the web app running was pretty simple:
1. Create a New Static Web App in the Azure Portal #
Search for Static Web Apps in the azure portal and then click Create to create a new page. Select the subscription and resource group, name your web app, and then select the Plan type.

The idea behind these static web apps is that you can integrate them with other Azure Functions in your tenant to add dynamic capabilities to your page. If you plan to do this you can specify the region for your Azure Functions, but in my case it’s not really important.
2. Link your App with your Source Code #
After you’ve specified your basic site settings, you can use the Deployment Details section to link your Github account. Once this is configured, Azure can create the workflows for you to automatically update your site content on commits.
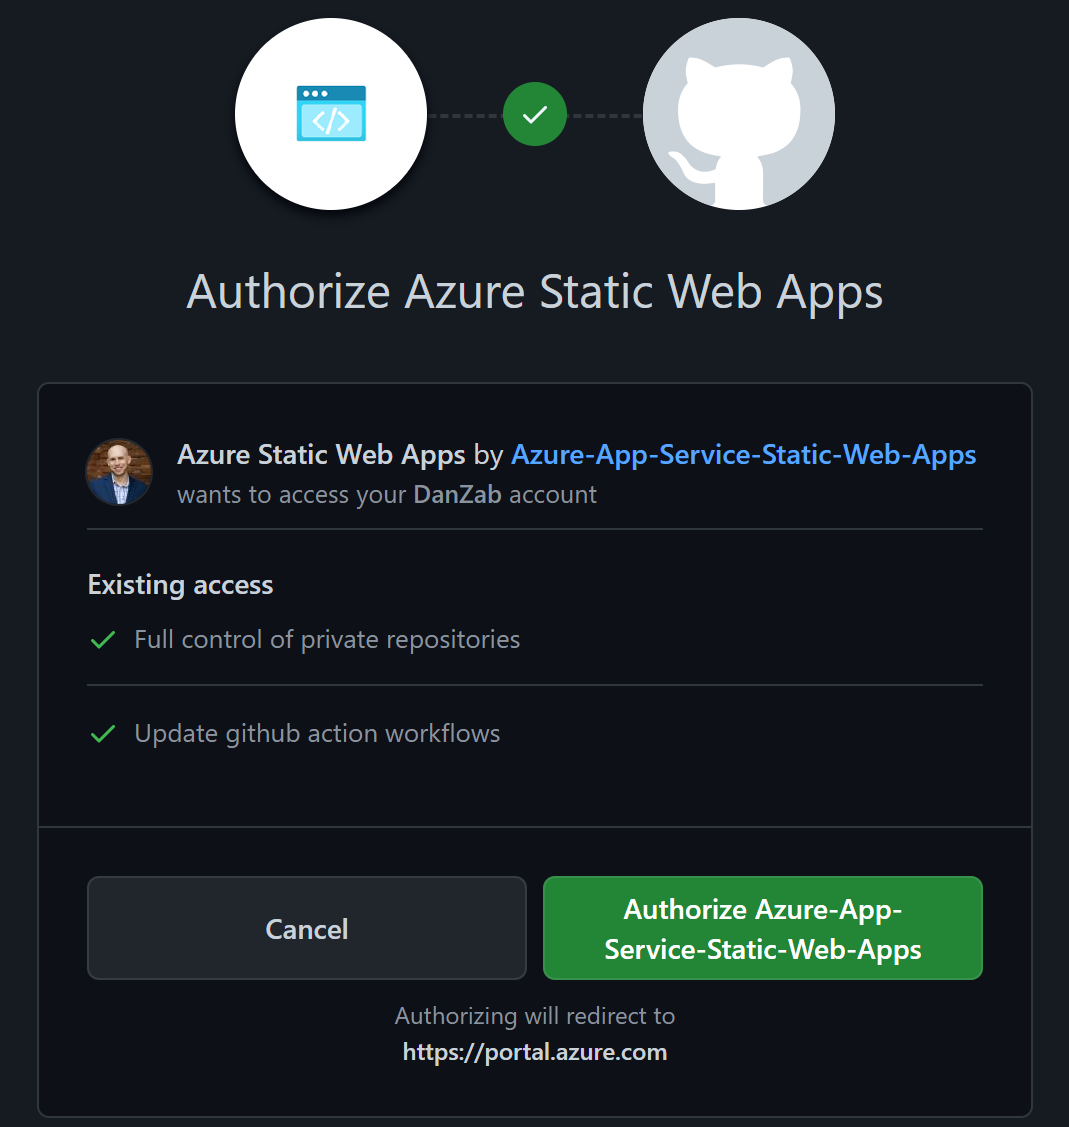

After you have authenticated to github, you specify the repo and the branch you want to use for your site contents.
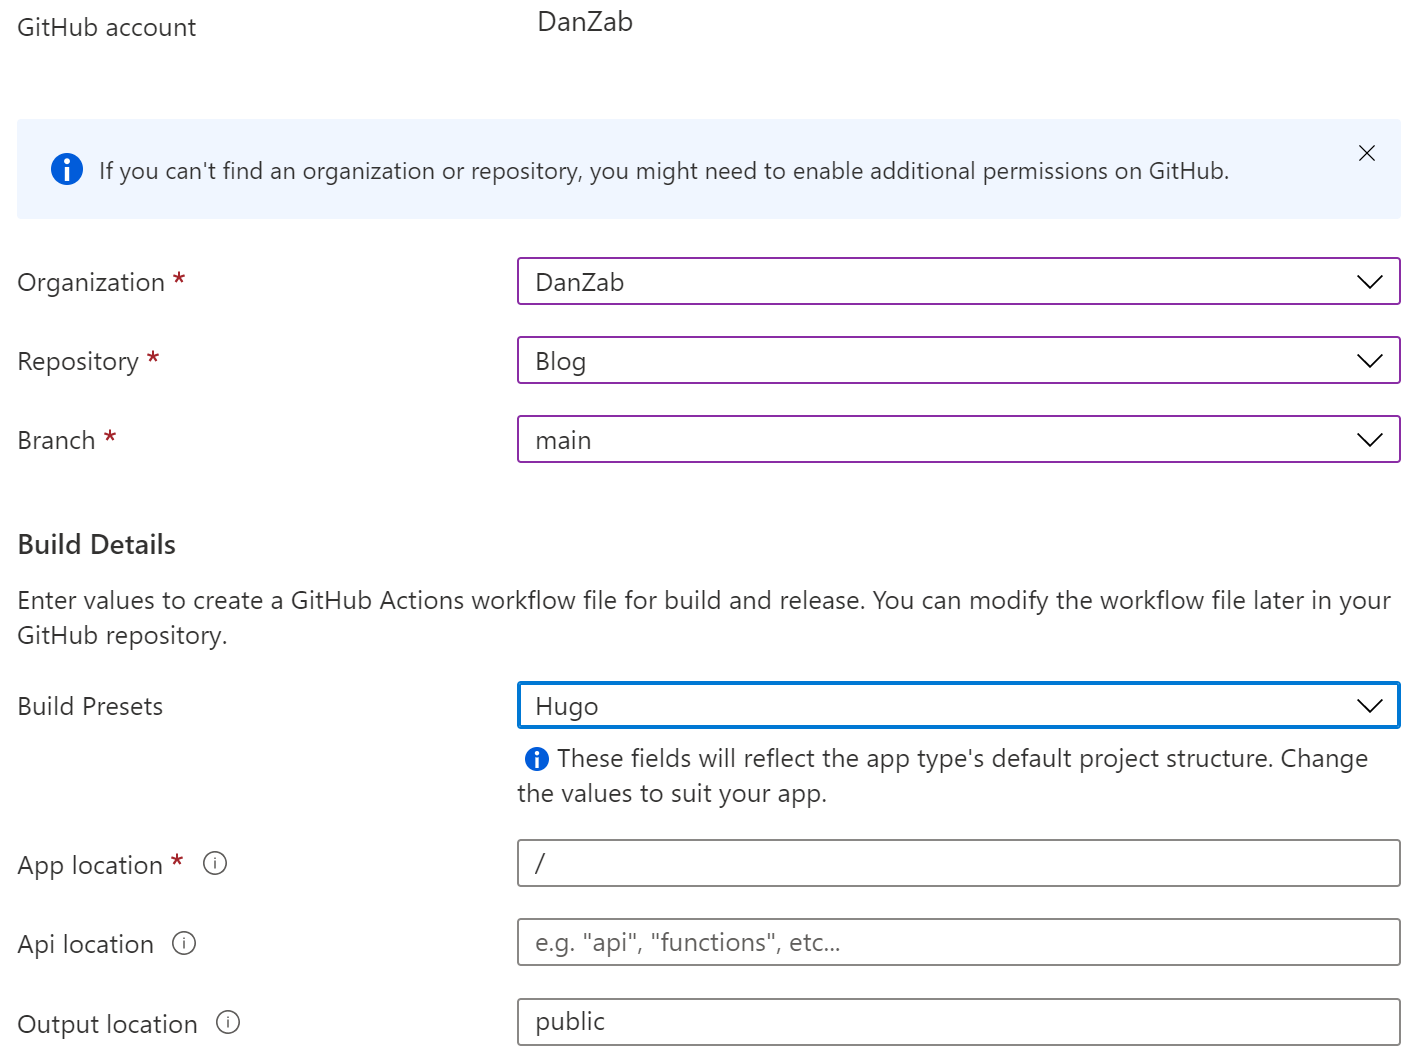
3. Review Site Settings and Github Workflow #
You will be prompted with a final confirmation page before publishing your app and then you’re up and running. This is about as simple of a next-next-finish as you could hope for, assuming you already have your code in github and are using one of the supported static site generators.
Once the site is online, you can see the page URL in the Overview of the site settings:
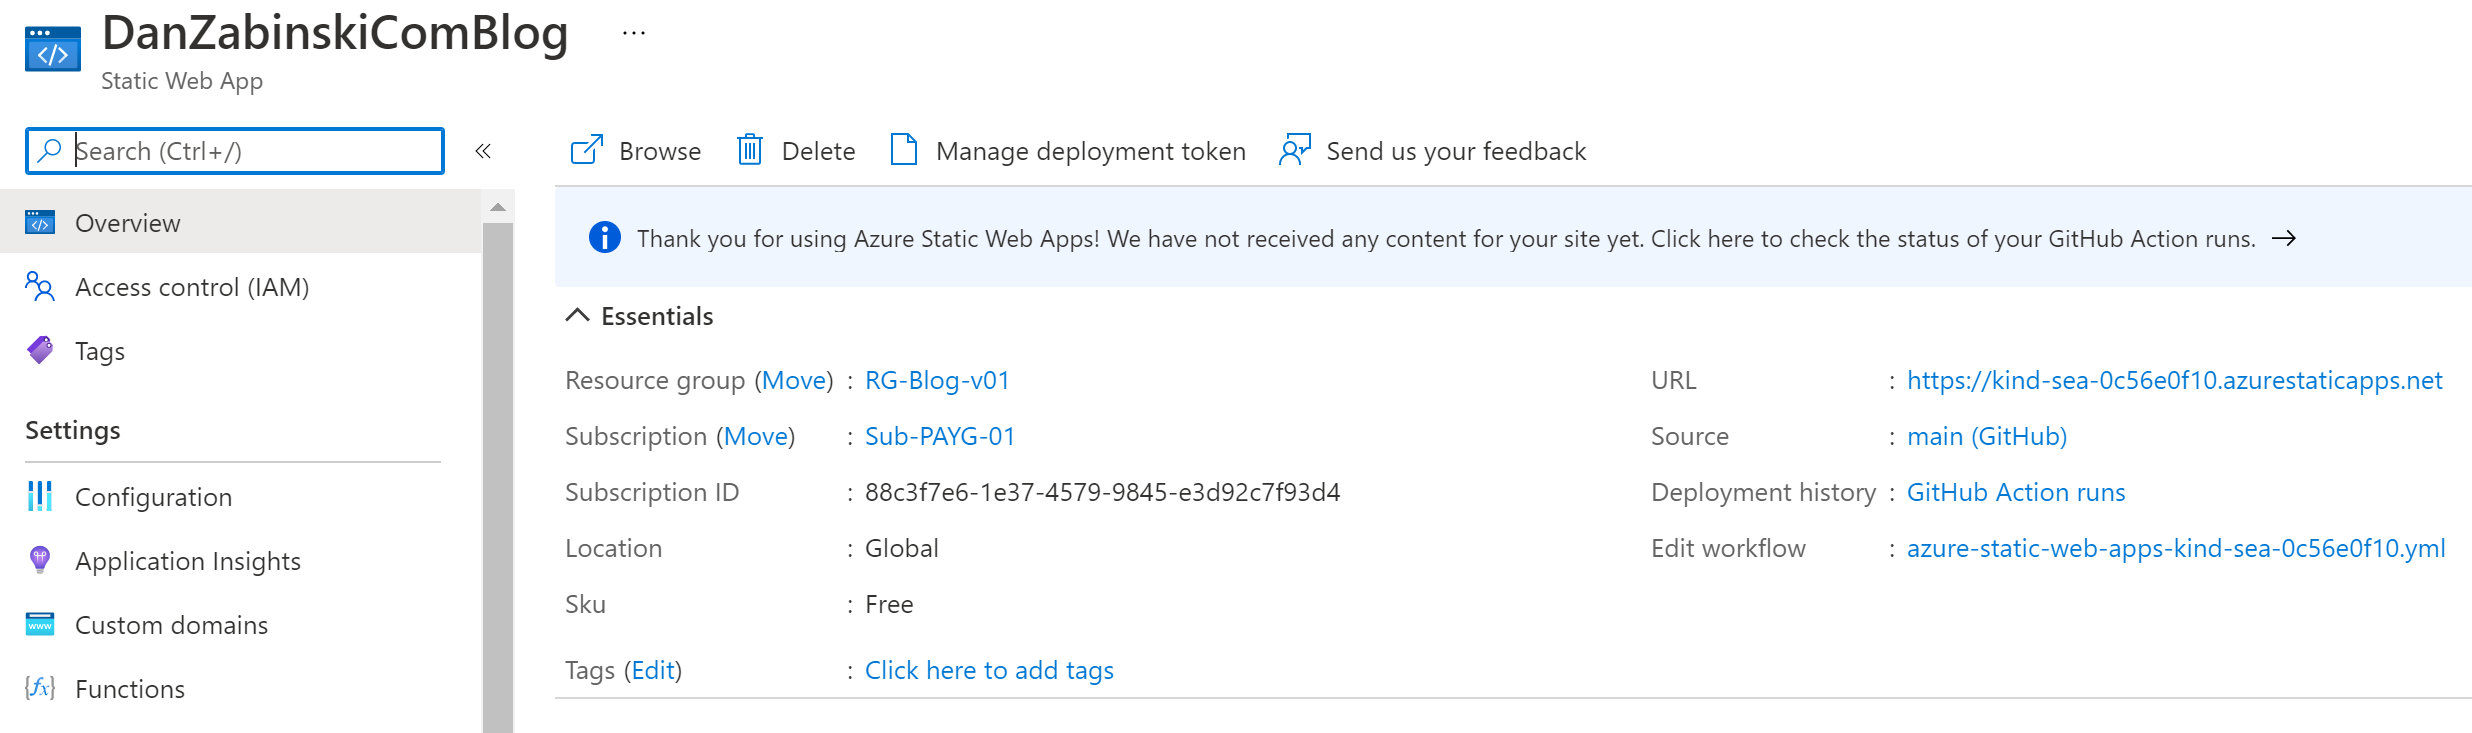
I had to update my settings in Hugo to specify this base URL in order to test my site before updating it to my custom domain but that was the only additional configuration I needed.
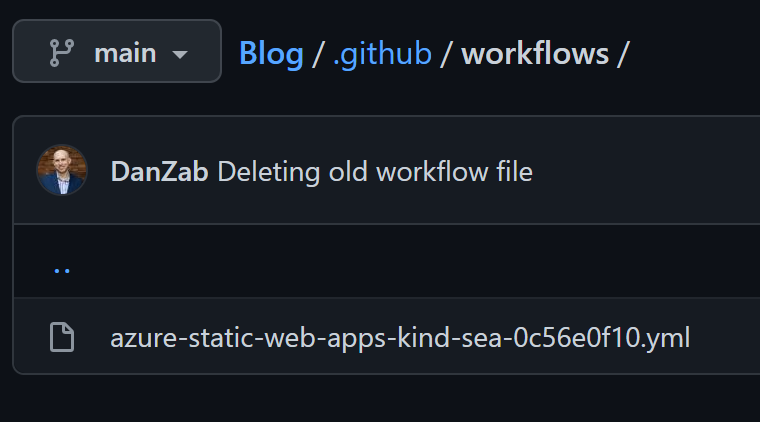
When I login to my Github repo, you can see the new workflow from Azure in process. (Ignore the “deleting old workflow” line, I deleted and re-created everything to take screenshots for this post.)
Lastly, if you navigate to your Github secrets you can see the authentication that Azure sets up for itself:

Summary #
As I mentioned in my first post, I don’t really want this site to be a project. I was looking for a solution that was simple to set up and required almost no effort to maintain.
The Azure Static Web App (and Hugo) gave me exactly what I was looking for. If I discount the time spent trying to containerize it originally, I probably got this whole thing set up faster then I could have using Wordpress or Wix (or Geocities, for a nice 90’s throwback).